One Year Countdown
Okay, so it’s not the Final Countdown, but it’s the BIG countdown. That’s right, we’re a year out – April 22, 2012 is the date. The Knot has already emailed me with the seventy-billion things that need to get done in the next year. Meanwhile, I still need to update on the two or three things that have been done so far. Let’s just say that there has been a lot of wedding blog perusing. Weddingland is beautiful, didn’t ya hear?
For now, I’ve borrowed a color board from 100 Layer Cake that is the frontrunner for the wedding. We’re thinking that yellow and blue will be the main colors, with everything else as accent colors. Oh, and we’re thinking grey instead of “roasted.” So pretty and spring-like! Yay!

From 100 Layer Cake
Appointments, Appointments
This week, we are headed back to Kentucky “officially” start the planning and I am pumped. I think the Canadian is excited, but more pumped about the warmer weather and the food, as per usual. We are going to a food tasting, so I’m sure he’s even more excited than usual.
We’ve got appointments for venues, photographers and dress shopping. No Canadians allowed that last one, but my mom, sister and niece are joining in the fun. My niece, in particular, will be excited about all the “princess” type events – she loves Disney princesses! I’m pretty pumped to actually start planning. There will probably be some squealing involved for the entire weekend.
Meanwhile, we have been up here in the cold, doing winter things, including going to the Festival du Voyageur. The festival celebrates the French settlers who came to Manitoba and all of their unique traditions (yes, there is still a Franco community here in Manitoba – they’re not just all in Quebec!). So there’s a snow carving competition, in which teams come from all over the world to compete. There’s also sledding and various games for the kids. And, of course, the amazing food – including poutine, split pea soup, mini donuts and my new favorite, maple snow taffy. Unfortuantely, I neglected my food pic duties (actually, my camera phone decides that sometimes it will work and sometimes it will not), so I only have some pics of snow carvings. He-ho, indeed!
Costa Rica & Gallo Pinto
Well it’s the new year and time to go back to simple things after divulging in excess during the holiday season. Or at least that’s what I try to do.
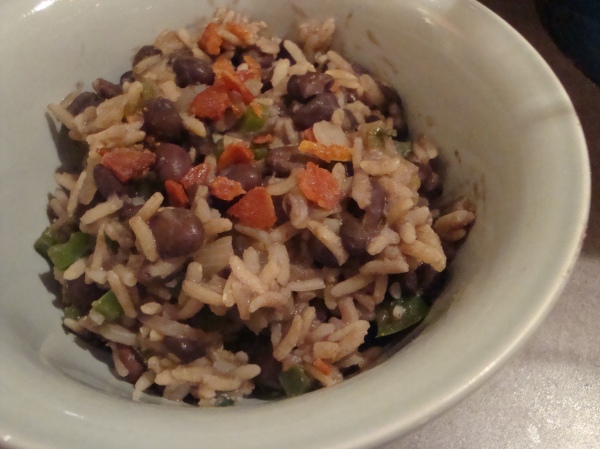
Part of the excess of our holiday season was a trip to the beautiful Costa Rica with my grad school roommate and her tico husband. In that spirit, I made gallo pinto, the Costa Rican rice and beans dish and it was simple but delicious. If only the fruit were so fresh and there were fried plantains on the side.
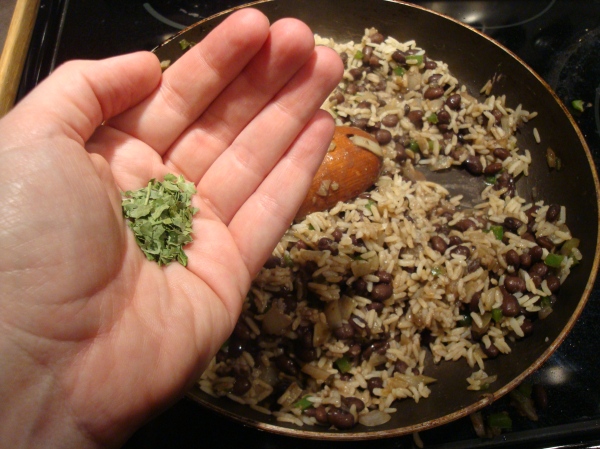
Gallo pinto is very customizable. If cumin and Tabasco aren’t your thing, then throw them out and use chile powder or something else. Since I can’t find fresh cilantro around these parts these days, I got a jar of some freeze-dried cilantro. It was alright, but nothing like fresh. Can’t wait to try this later in the year. I also added some crumbled bacon onto the top of the dish for garnish, on advice from this blog: Kitchen Confidante.
The other big news is that Southern Transplant will become, as of this post, somewhat of a wedding blog. That’s right! The Canadian and I are engaged and thinking about Spring 2012 for the impending nuptials. So the blog will be able to keep everyone in the loop wedding-wise, as I’m planning a hometown ceremony in Kentucky, but planning long distance. Get ready for some GTs (good times, if ya didn’t know)!
Gallo Pinto
Ingredients
2 tbsp oil
1/2 onion, finely chopped
1/2 green pepper (or yellow, red, orange if you want to jazz it up), finely chopped
1 can of black beans, drained but do not toss the juice
4 cups cooked rice
cilantro, to taste
Tabasco sauce, to taste
cumin, to taste
salt and pepper
Fry the onion and pepper in oil over medium heat until the onions are translucent. Add the can of black beans and fry for a couple of minutes, switching to low heat. Add the rice and some of the leftover black bean juice and stir to combine. Turn off the burner, mix in spices and serve warm.
Daring Cooks: Poached Eggs
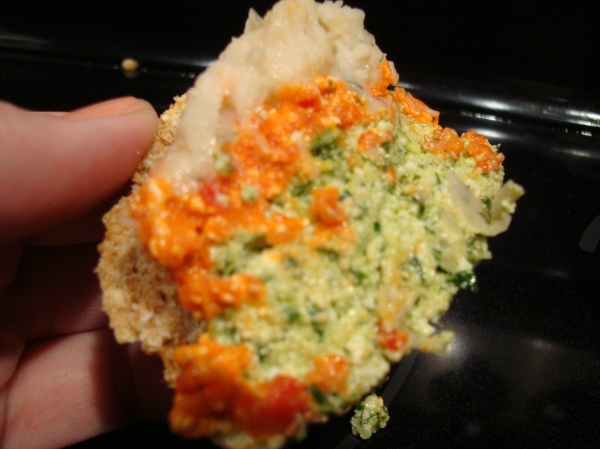
Jenn and Jill have challenged The Daring Cooks to learn to perfect the technique of poaching an egg. They chose Eggs Benedict recipe from Alton Brown, Oeufs en Meurette from Cooking with Wine by Anne Willan, and Homemade Sundried Tomato & Pine Nut Seitan Sausages (poached) courtesy of Trudy of Veggie num num.
Soooo late…but soooo goooood. I actually made this on time, I just neglected the posting activities.
So, I spilled the first batch of hollandaise on my phone and had to make another. Don’t worry, it was my work phone. Unfortunately, it wasn’t even harmed in the incident.
My co-worker suggested that I put the eggs in ramekins before putting them into the water to help them keep their shape. I decided to go the old fashioned way and see what I could do. I did use the vortex “method”, whereby you swirl the water around then drop the egg in. But only because it was kind of cool looking.
I also updated the recipe a bit – including toasted french bread slices and sausage instead of ham/bacon and English muffins.
Eggs Benedict
Ingredients
4 eggs (size is your choice)
2 English muffins*
4 slices of Canadian bacon/back bacon (or plain bacon if you prefer)
Chives, for garnish
Splash of vinegar (for poaching)
For the hollandaise (makes 1.5 cups):
3 large egg yolks
1 tsp. (5 ml) water
¼ tsp. (1 ¼ ml/1½ g) sugar
12 Tbl. (170 g/6 oz.) unsalted butter, chilled and cut in small pieces º
½ tsp. (2 ½ ml/3 g) kosher salt
2 tsp. (10 ml) freshly squeezed lemon juice
Pinch cayenne pepper (optional)
* for gluten free, use gluten free English muffins or bread of your choice
º for dairy free, use a dairy free margarine
Directions:
1. Fill a medium saucepan halfway with water and bring to a simmer.
2. Cut the chilled butter into small pieces and set aside.
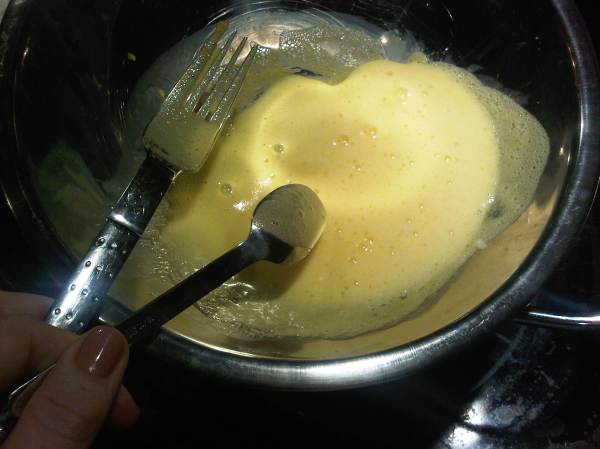
3. Whisk egg yolks and 1 tsp. (5 ml) water in a mixing bowl large enough to sit on the saucepan without touching the water (or in top portion of a double boiler). Whisk for 1–2 minutes, until egg yolks lighten. Add the sugar and whisk 30 seconds more.
4. Place bowl on saucepan over simmering water and whisk steadily 3–5 minutes (it only took about 3 for me) until the yolks thicken to coat the back of a spoon.
5. Remove from heat (but let the water continue to simmer) and whisk in the butter, 1 piece at a time. Move the bowl to the pan again as needed to melt the butter, making sure to whisk constantly.
6. Once all the butter is incorporated, remove from heat and whisk in the salt, lemon juice, and cayenne pepper (if using).
7. Keep the hollandaise warm while you poach your eggs in a thermos, carafe, or bowl that you’ve preheated with warm water.
8. If the water simmering in your pan has gotten too low, add enough so that you have 2–3 inches of water and bring back to a simmer.
9. Add salt and a splash of vinegar (any kind will do). I added about a tablespoon of vinegar to my small saucepan (about 3 cups of water/720 ml of water), but you may need more if you’re using a larger pan with more water.
10. Crack eggs directly into the very gently simmering water (or crack first into a bowl and gently drop into the water), making sure they’re separated. Cook for 3 minutes for a viscous but still runny yolk.
11. While waiting for the eggs, quickly fry the Canadian/back bacon and toast your English muffin.
12. Top each half of English muffin with a piece of bacon. Remove the eggs with a slotted spoon, draining well, and place on top of the bacon. Top with hollandaise and chopped chives, and enjoy!
Daring Bakers: Crostada
The 2010 November Daring Bakers’ challenge was hosted by Simona of briciole. She chose to challenge Daring Bakers’ to make pasta frolla for a crostata. She used her own experience as a source, as well as information from Pellegrino Artusi’s Science in the Kitchen and the Art of Eating Well.
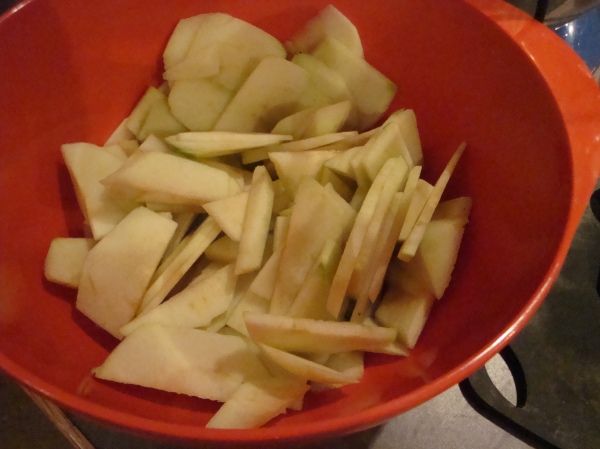
This week’s challenge was awesome, because it was perfect timing for me to make a crostada for the Grey Cup get-together I am going to tomorrow evening (Grey Cup being the Canadian version of the Super Bowl, incidentally). It also gave us bakers a lot of freedom to make whatever kind of filling we wished, just as long as we made the pasta frolla. Since I told everyone I was going to bring an apple pie, I just used apple filling from the Pioneer Woman’s Dreamy Apple Pie.
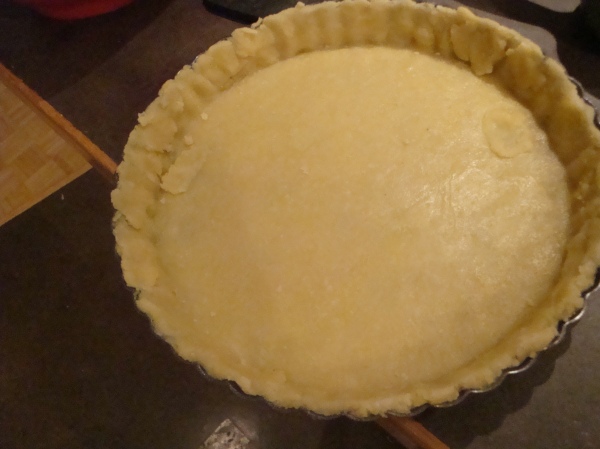
While the Pioneer Woman does have a topping for her apple pie, I decided to use my leftover pasta frolla and make some lattice work over top. We shall see how that turns out tomorrow, but for tonight, it looks gorgeous.
Pasta Frolla
Ingredients:
- 1/2 c. minus 1 tablespoon [105 ml, 100 g, 3 ½ oz] superfine sugar (see Note 1) or a scant 3/4 cup [180ml, 90g, 3 oz] of powdered sugar
- 1 and 3/4 cup [420 ml, 235 g, 8 1/4 oz.] unbleached all-purpose flour
- a pinch of salt
- 1 stick [8 tablespoons / 4 oz. / 115 g] cold unsalted butter, cut into small pieces
- grated zest of half a lemon (you could also use vanilla sugar as an option, see Note 2)
- 1 large egg and 1 large egg yolk, lightly beaten in a small bowl
Making pasta frolla by hand:
- Whisk together sugar, flour and salt in a bowl.
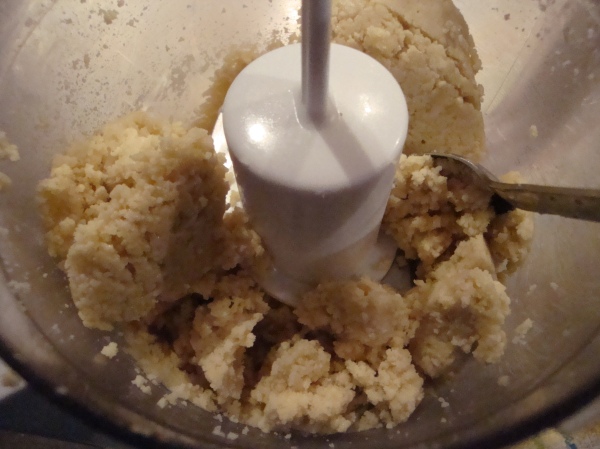
- Rub or cut the butter into the flour until the mixture has the consistency of coarse crumbs. You can do this in the bowl or on your work surface, using your fingertips or an implement of choice.
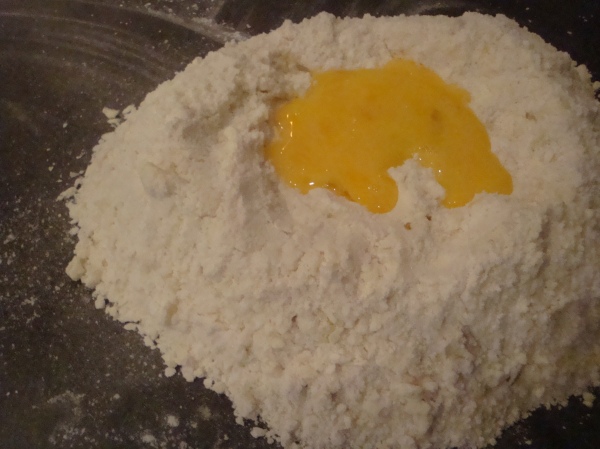
- Make a well in the center of the mounded flour and butter mixture and pour the beaten eggs into it (reserve about a teaspoon of the egg mixture for glazing purposes later on – place in the refrigerator, covered, until ready to use).
- Add the lemon zest to your flour/butter/egg mixture.
- Use a fork to incorporate the liquid into the solid ingredients, and then use your fingertips.
- Knead lightly just until the dough comes together into a ball.
- Shape the dough into a flat disk and wrap in plastic wrap. Place the dough in the refrigerator and chill for at least two hours. You can refrigerate the dough overnight.

Daring Bakers: Doughnuts with Glaze and Sprinkles
Oh, hi there. It seems as if we have not been very friendly in the past couple of months, and that’s totally my fault. But no, I’m not breaking up with you blog. I’m going to try harder, I promise. And besides, the long winter nights are coming and there’s definitely more time for cooking. So without further adieu, below is the October Daring Bakers Challenge:
The October 2010 Daring Bakers Challenge was hosted by Lori of Butter Me Up. Lori chose to challenge DBers to make doughnuts. She used several sources for her recipes, including Alton Brown, Nancy Silverton, Kate Neumann and Epicurious.
If you’ve been following along at home, you might remember that I made jelly doughnuts, or sufganiyot, last year after Hanukkah. So I’ve had a little experience with making doughnuts (and a lot of experience with frying things, but that’s a whole ‘nother batch of stories). I decided to go for a yeast doughnut (as my anti-cake doughnut bias has been documented), and make it a bit festive. I took inspiration from Dunkin’ Donuts’ fall doughnut and tried to whip up some orange glaze and add brown sprinkles. It is Halloween week, after all.
Instead of just lightly sprinkling the brown sprinkles, I went ahead and dipped the doughnut in them after the glaze. One can never get enough sprinkles, even if it does take away from the artistic presentation a bit.
Yeast Doughnuts:
Preparation time:
Hands on prep time – 25 minutes
Rising time – 1.5 hours total
Cooking time – 12 minutes
Yield: 20 to 25 doughnuts & 20 to 25 doughnut holes, depending on size
Ingredients
Milk 1.5 cup / 360 ml
Vegetable Shortening 1/3 cup / 80 ml / 70 gm / 2.5 oz (can substitute butter, margarine or lard)
Active Dry Yeast 4.5 teaspoon (2 pkgs.) / 22.5 ml / 14 gm / ½ oz
Warm Water 1/3 cup / 80 ml (95°F to 105°F / 35°C to 41°C)
Eggs, Large, beaten 2
White Granulated Sugar ¼ cup / 60 ml / 55 gm / 2 oz
Table Salt 1.5 teaspoon / 7.5 ml / 9 gm / 1/3 oz
Nutmeg, grated 1 tsp. / 5 ml / 6 gm / ¼ oz
All Purpose Flour 4 2/3 cup / 1,120 ml / 650 gm / 23 oz + extra for dusting surface
Canola Oil DEPENDS on size of vessel you are frying in – you want THREE (3) inches of oil (can substitute any flavorless oil used for frying)
Directions:
- Place the milk in a medium saucepan and heat over medium heat just until warm enough to melt the shortening. (Make sure the shortening is melted so that it incorporates well into the batter.)
- Place the shortening in a bowl and pour warmed milk over. Set aside.
- In a small bowl, sprinkle the yeast over the warm water and let dissolve for 5 minutes. It should get foamy. After 5 minutes, pour the yeast mixture into the large bowl of a stand mixer and add the milk and shortening mixture, first making sure the milk and shortening mixture has cooled to lukewarm.
- Add the eggs, sugar, salt, nutmeg, and half of the flour. Using the paddle attachment of your mixer (if you have one), combine the ingredients on low speed until flour is incorporated and then turn the speed up to medium and beat until well combined.
- Add the remaining flour, combining on low speed at first, and then increase the speed to medium and beat well.
- Change to the dough hook attachment of the mixer and beat on medium speed until the dough pulls away from the bowl and becomes smooth, approximately 3 to 4 minutes (for me this only took about two minutes). If you do not have a dough hook/stand mixer – knead until the dough is smooth and not sticky.
- Transfer to a well-oiled bowl, cover, and let rise for 1 hour or until doubled in size.
- On a well-floured surface, roll out dough to 3/8-inch (9 mm)thick. (Make sure the surface really is well-floured otherwise your doughnuts will stick to the counter).
- Cut out dough using a 2 1/2-inch (65 mm) doughnut cutter or pastry ring or drinking glass and using a 7/8-inch (22 mm) ring for the center whole. Set on floured baking sheet, cover lightly with a tea towel, and let rise for 30 minutes.
- Preheat the oil in a deep fryer or Dutch oven to 365 °F/185°C.
- Gently place the doughnuts into the oil, 3 to 4 at a time. Cook for 1 minute per side or until golden brown (my doughnuts only took about 30 seconds on each side at this temperature).
- Transfer to a cooling rack placed in baking pan. Allow to cool for 15 to 20 minutes prior to glazing, if desired.
Alton Brown’s Doughnut Glaze
Ingredients
- 1/4 cup whole milk
- 1 teaspoon vanilla extract
- 2 cups confectioners’ sugar
Directions
Combine milk and vanilla in a medium saucepan and heat over low heat until warm. Sift confectioners’ sugar into milk mixture. Whisk slowly, until well combined. Remove the glaze from the heat and set over a bowl of warm water. Dip doughnuts into the glaze, 1 at a time, and set on a draining rack placed in a half sheet pan for 5 minutes before serving.
Note: I put in the food coloring while I was whisking the confectioners’ sugar into the milk. For orange, I combined equal parts red and yellow until I got a kind of peachy-light orange color. I don’t think I could have replicated the bright orange of Dunkin’ Donuts without making the icing taste like food coloring. Also, the bit about setting the pan over a bowl of warm water didn’t work for me. Eventually I had to put it back over the stove at very low heat to keep it from seizing up on me.
Daring Bakers: Decorated Sugar Cookies
The September 2010 Daring Bakers’ challenge was hosted by Mandy of “What the Fruitcake?!” Mandy challenged everyone to make Decorated Sugar Cookies based on recipes from Peggy Porschen and The Joy of Baking.
This month, we were asked to decorate cookies in the profesh way, not just throwing on some dots and colored sprinkles, a-thank-you-very-much. I must say that I enjoyed this, but I have had a little little bit of experience with decorating cookies. As in, I took a class last year at a bakery in town, where the head decorater helped us all out and they looked perfect. Clearly, I haven’t practiced since then, and the real profesh wasn’t around to fix my mistakes 😉
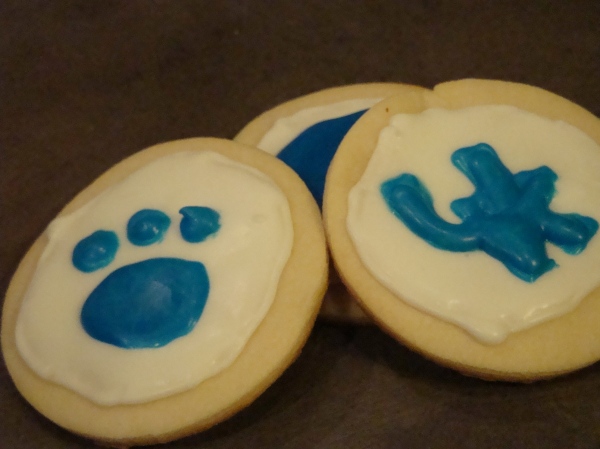
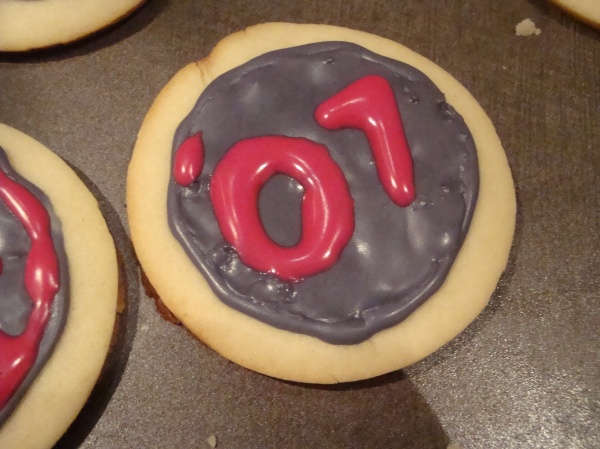
We were also asked to decorate the cookies in some way that is meaningful to us, as related to the month of September, and all I could think of was school and football. Well, that’s not exactly true. I also thought of leaves, but let’s be honest, that kind of artistry was not in the cards for myself. And so, even though University of Kentucky football technically starts in August, I decorated some blue and white (and again, let’s be honest, that’s just a pre-cursor to basketball season), and threw in some ’07s (the year I graduated) for fun.
On hindsight, I should’ve used this year, 2010 or 2011. But then again, I don’t know anyone who is graduating this year. And also, people don’t normally graduate in September, because that’s not how things roll around here, so this entire exercise was ill-conceived. Hey, I drew a paw print! Blue and White up at the top! Distract!
Basic Sugar Cookies:
Makes Approximately 36x 10cm / 4″ Cookies
200g / 7oz / ½ cup + 6 Tbsp Unsalted Butter, at room temperature
400g / 14oz / 3 cups + 3 Tbsp All Purpose / Plain Flour
200g / 7oz / 1 cup Caster Sugar / Superfine Sugar
1 Large Egg, lightly beaten
5ml / 1 tsp Vanilla Extract / Or seeds from 1 vanilla bean
Directions
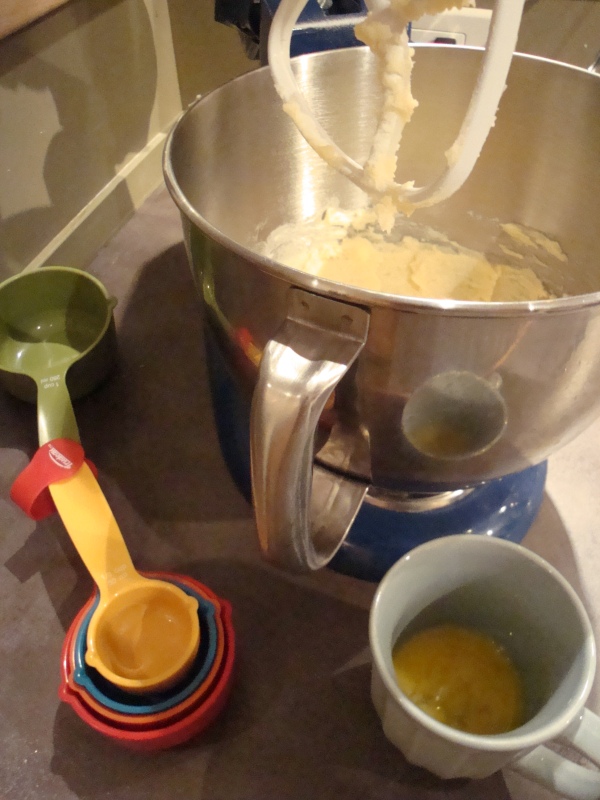
• Cream together the butter, sugar and any flavourings you’re using. Beat until just becoming
creamy in texture.
• Beat in the egg until well combined, make sure to scrape down the sides of the bowl.
Add the sifted flour and mix on low until a non sticky dough forms.
• Knead into a ball and divide into 2 or 3 pieces.
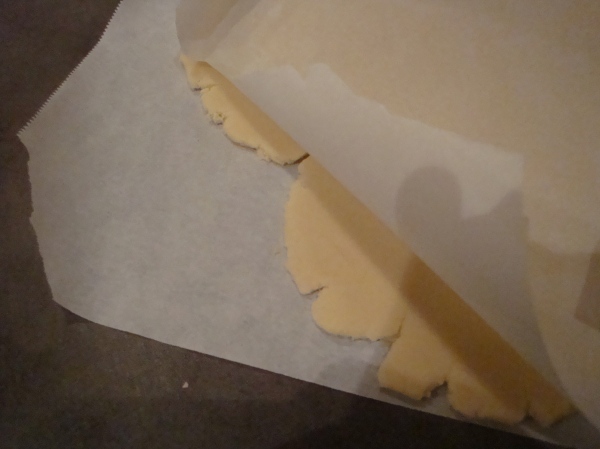
• Roll out each portion between parchment paper to a thickness of about 5mm/1/5 inch (0.2 inch)
• Refrigerate for a minimum of 30mins.
• Once chilled, peel off parchment and place dough on a lightly floured surface.
• Cut out shapes with cookie cutters or a sharp knife.
• Arrange shapes on parchment lined baking sheets and refrigerate for another 30mins to an hour.
• Re-roll scraps and follow the above process until all scraps are used up.
• Preheat oven to 180°C (160°C Fan Assisted) / 350°F / Gas Mark 4.
• Bake until golden around the edges, about 8-15mins depending on the size of the cookies.
• Leave to cool on cooling racks.
• Once completely cooled, decorate as desired.
Royal Icing:
315g – 375g / 11oz – 13oz / 2½ – 3 cups Icing / Confectioner’s / Powdered Sugar, unsifted
2 Large Egg Whites
10ml / 2 tsp Lemon Juice
5ml / 1 tsp Almond Extract, optional
Directions
• Beat egg whites with lemon juice until combined.
• Sift the icing sugar to remove lumps and add it to the egg whites.
• Beat on low until combined and smooth.
• Use immediately or keep in an airtight container.
Daring Cooks: Nut Butters
The July 2010 Daring Cooks’ Challenge was hosted by Margie of More Please and Natashya of Living in the Kitchen with Puppies. They chose to challenge Daring Cooks to make their own nut butter from scratch, and use the nut butter in a recipe. Their sources include Better with Nut Butter by Cooking Light Magazine, Asian Noodles by Nina Simonds, and Food Network online.
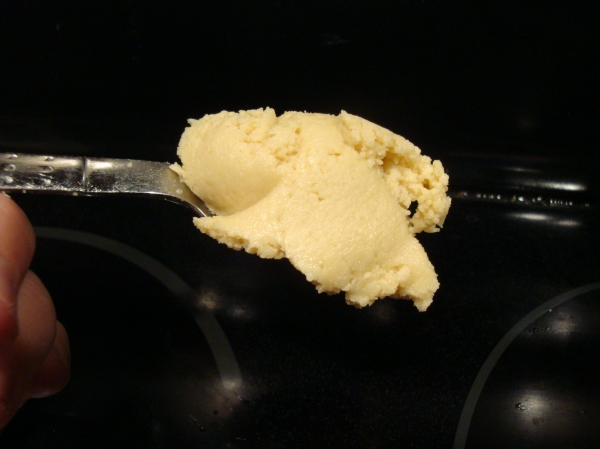
I was so excited about this challenge, it’s not even funny. Every morning, I have natural almond butter on top of toast and I love it. It literally never gets old (and it’s way better than my old breakfast standard of whatever sugary cereal was around).
So I made two nut butters: cashew and almond. My almond butter was raw almond butter, because I used almond slivers and didn’t know if putting them into an oven would immediately burn them to a crisp. So it’s not exactly the same as my morning almond butter standby, but I don’t mind it.
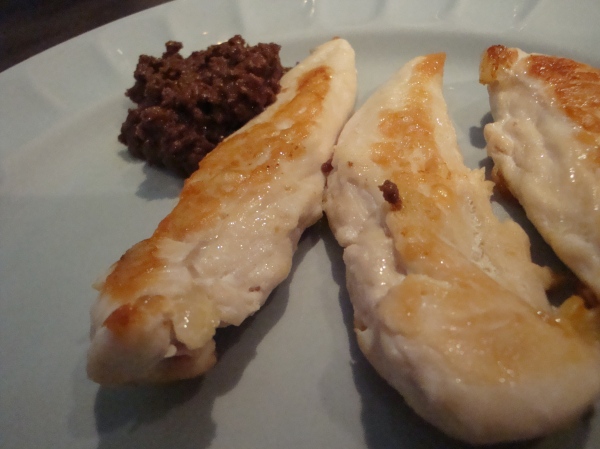
The cashew butter was definitely different than the old standby. I crisped them up a bit too much when I was toasting them, and therefore the butter had a stronger flavor. But I liked it, and decided to make cashew sauce for chicken.
With the over-roasting, though, it didn’t turn out exactly like you would imagine cashew sauce, as you can see. It was simple, so I’m not publishing a recipe. Just cashew butter, coconut milk and cayenne.
Oh well, I am definitely making my own nut butter in the future. It was so easy! Also, I might experiment with spices and flavors in the future. Have you ever had the peanut butter from Hell’s Kitchen in Minneapolis (no relation to the tv show)? You should. It’ s a delightful mix of peanut, brown sugar and some spices. If I ever get around to it, I’ll publish that here.
Daring Bakers: Chocolate Pavlovas
Ok, so I’ll tell you about my week last week, and then you’ll understand why I didn’t post my chocolate pavlovas on time. And then I’ll tell you about the chocolate pavlovas and you’ll understand why I made them waaaay ahead of time. So good.
Last week, I went to Churchill, Manitoba (see ice floe, above) on Monday, got back on Tuesday and then worked my buns off until Friday afternoon. Then I went to Toronto, relaxed with some friends in Canadian wine country and came home on Sunday night at around 8. Meanwhile, I was sick, and so I went straight to bed and hence why it never occurred to me to post until today (Canada Day, so I’m off work). All very fun (well, except for being sick), but very post-inhibiting, if you know what I mean. And of course, I didn’t think to put a post in the line-up so I could just press a button and have it magically appear. That would be too easy.
Now I’ll tell you about the chocolate pavlovas: The June 2010 Daring Bakers’ challenge was hosted by Dawn of Doable and Delicious. Dawn challenged the Daring Bakers’ to make Chocolate Pavlovas and Chocolate Mascarpone Mousse. The challenge recipe is based on a recipe from the book Chocolate Epiphany by Francois Payard.
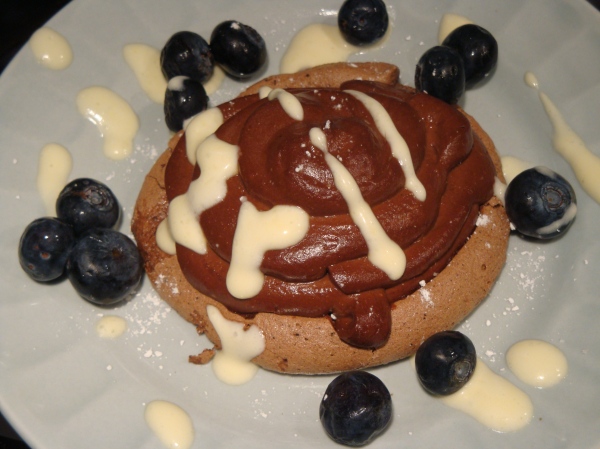
See? These were sooo good. Chocolate on top of chocolate? Please and thank you. As with some of the challenges, these turned out easier than I thought they would be. I suppose it helps that I have a little practice at both meringues and mousses.
Recipe 1: Chocolate Meringue (for the chocolate Pavlova):
3 large egg whites
½ cup plus 1 tbsp (110 grams) white granulated sugar
¼ cup (30 grams) confectioner’s (icing) sugar
1/3 cup (30 grams) cocoa powder
Directions:
- Place a rack in the center of the oven and preheat to 200º F (95º C) degrees. Line two baking sheets with silpat or parchment and set aside.
- Put the egg whites in a bowl and whip until soft peaks form. Increase speed to high and gradually add granulated sugar about 1 tbsp at a time until stiff peaks form. (The whites should be firm but moist.)
- Sift the confectioner’s sugar and cocoa powder over the egg whites and fold the dry ingredients into the white. (This looks like it will not happen. Fold gently and it will eventually come together.)
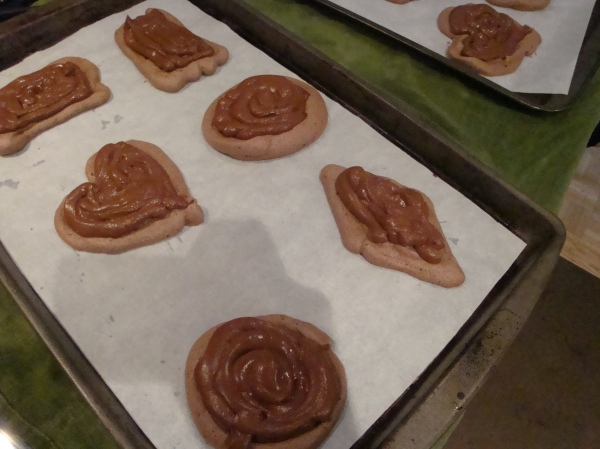
- Fill a pastry bag with the meringue. Pipe the meringue into whatever shapes you desire. Alternatively, you could just free form your shapes and level them a bit with the back of a spoon. (Class made rounds, hearts, diamonds and an attempt at a clover was made!)
- Bake for 2-3 hours until the meringues become dry and crisp. Cool and store in an airtight container for up to 3 days.
Recipe 2: Chocolate Mascarpone Mousse (for the top of the Pavlova base):
1 ½ cups (355 mls) heavy cream (cream with a milk fat content of between 36 and 40 percent)
grated zest of 1 average sized lemon
9 ounces (255 grams) 72% chocolate, chopped
1 2/3 cups (390 mls) mascarpone
pinch of nutmeg
2 tbsp (30 mls) Grand Marnier (or orange juice)
Directions:
- Put ½ cup (120 mls) of the heavy cream and the lemon zest in a saucepan over medium high heat. Once warm, add the chocolate and whisk until melted and smooth. Transfer the mixture to a bowl and let sit at room temperature until cool.
- Place the mascarpone, the remaining cup of cream and nutmeg in a bowl. Whip on low for a minute until the mascarpone is loose. Add the Grand Marnier and whip on medium speed until it holds soft peaks. (DO NOT OVERBEAT AS THE MASCARPONE WILL BREAK.)
- Mix about ¼ of the mascarpone mixture into the chocolate to lighten. Fold in the remaining mascarpone until well incorporated. Fill a pastry bag with the mousse. Again, you could just free form mousse on top of the pavlova.
Recipe 3: Mascarpone Cream (for drizzling):
1 recipe crème anglaise
½ cup (120 mls) mascarpone
2 tbsp (30 mls) Sambucca (optional)
½ cup (120 mls) heavy cream
Directions:
- Prepare the crème anglaise. Slowly whisk in the mascarpone and the Sambucca and let the mixture cool. Put the cream in a bowl and beat with electric mixer until very soft peaks are formed. Fold the cream into the mascarpone mixture.
Recipe 4: Crème Anglaise (a component of the Mascarpone Cream above):
1 cup (235 mls) whole milk
1 cup (235 mls) heavy cream
1 vanilla bean, split or 1 tsp pure vanilla extract
6 large egg yolks
6 tbsp (75 grams) sugar
Directions:
- In a bowl, whisk together the egg yolks and sugar until the mixture turns pale yellow.
- Combine the milk, cream and vanilla in a saucepan over medium high heat, bringing the mixture to a boil. Take off the heat.
- Pour about ½ cup of the hot liquid into the yolk mixture, whisking constantly to keep from making scrambled eggs. Pour the yolk mixture into the pan with the remaining cream mixture and put the heat back on medium. Stir constantly with a wooden spoon until the mixture thickens enough to lightly coat the back of a wooden spoon. DO NOT OVERCOOK.
- Remove the mixture from the heat and strain it through a fine mesh sieve into a bowl. Cover and refrigerate until the mixture is thoroughly chilled, about 2 hours or overnight.
Assembly:
Pipe the mousse onto the pavlovas and drizzle with the mascarpone cream over the top. Dust with confectioner’s sugar and fresh fruit if desired.


